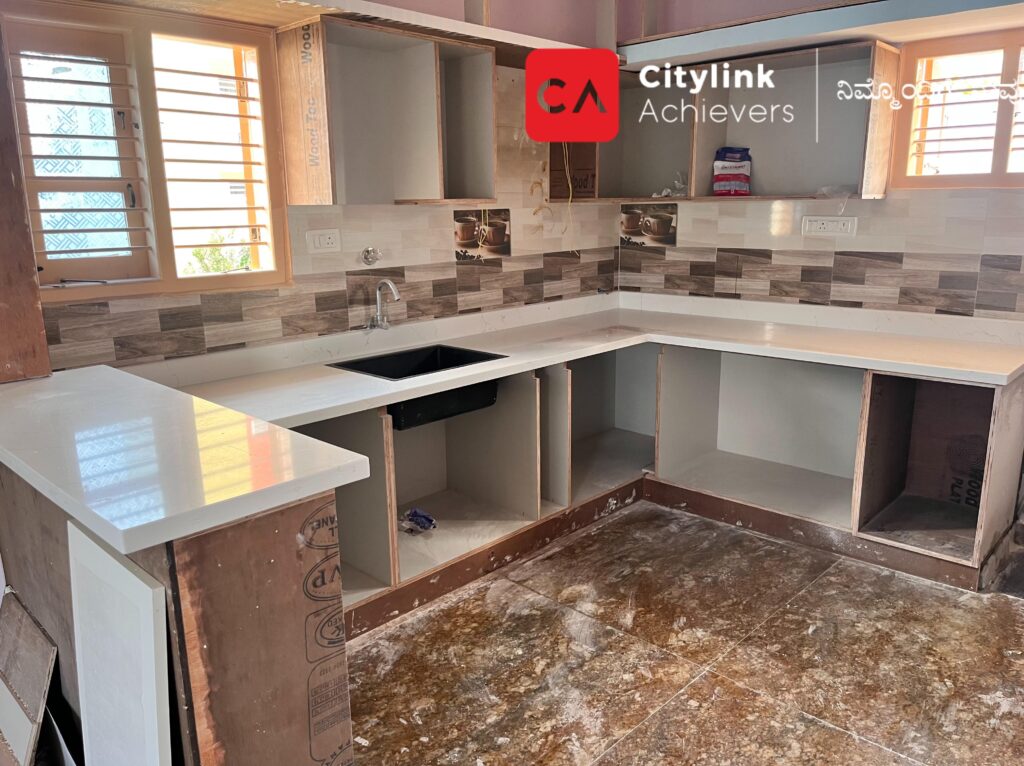
If you’re thinking about installing quartz countertops yourself, it’s definitely doable, but there are a few things you’ll need to know before jumping in. Here’s a beginner’s guide to help you get started with the installation of quartz countertops:
1. Gather the Right Tools and Materials
Before you begin, make sure you have all the necessary tools and materials. Here’s a basic list:
- Measuring tape
- Circular saw with a diamond blade (for cutting quartz)
- Level
- Adhesive or caulking
- Clamps
- Rubber mallet
- Screws or fasteners
- Silicone sealant
- Safety goggles and gloves
- Sponge and mild detergent (for cleaning)
2. Measure and Plan
Measure the area of your countertop carefully. It’s crucial to get the measurements right, as quartz countertops come in large slabs that need to be cut to size.
- Length & Width: Double-check your countertop’s length and width to ensure you’re ordering the right amount of material.
- Cut-outs: Make sure you account for sink, stove, and faucet cut-outs.
Once the dimensions are done, you might want to create a rough sketch of the layout to visualize where the seams and joints will be.
3. Handling Quartz Slabs
Quartz slabs are heavy and can be difficult to handle. Always have at least one helper to assist with lifting and positioning the slabs.
- Lift properly: Lift with your legs, not your back. It’s also a good idea to use a lifting strap for better control.
- Check for damage: Before installation, check the slabs for any visible cracks or defects.
4. Cutting Quartz
Quartz is durable, but it’s also brittle, so cutting it correctly is crucial.
- Use a diamond blade: A diamond blade is the best option for cutting through quartz.
- Cut slowly: Don’t rush the cut, as it can cause the material to crack or chip.
- Protect the edges: After cutting, be sure to smooth the edges with a grinder to avoid sharp edges.
If you’re uncomfortable cutting it yourself, it’s always a good idea to have the slabs pre-cut by a professional or supplier.
5. Dry-Fit the Slabs
Before permanently securing the quartz, place the slabs on the countertop to see how they fit. This is your chance to make adjustments or reposition them as needed.
- Check for level: Make sure the countertops are level with a spirit level.
- Seams: Pay attention to how the seams will line up. You may want to stagger them for a more natural look.
6. Securing the Quartz
Once you’ve made sure the countertop fits perfectly, it’s time to secure the quartz.
- Apply adhesive: Use a high-quality construction adhesive designed for stone countertops. Apply it to the substrate (plywood or cabinetry) where the quartz will sit.
- Position the slab: Place the quartz on top of the adhesive. Be sure to line it up exactly where you want it.
- Clamp the slab: Use clamps to hold the quartz in place while the adhesive dries (usually about 24 hours).
- Screw into place: Some countertop installations require screws or fasteners to secure the quartz. Check with the manufacturer’s guidelines.
7. Sealing the Edges
After the quartz is in place, seal the edges with silicone caulking to ensure a tight fit and prevent moisture from getting underneath the countertop.
- Smooth the caulk: Use a damp finger or tool to smooth out the caulk.
- Let it cure: Allow the caulk to cure fully (24 hours).
8. Final Touches
- Install the Sink & Faucet: Once the quartz is installed, you can install the sink, faucet, and any other hardware.
- Clean the Surface: Use a mild detergent and sponge to clean the surface of the quartz, removing any dust or debris.
9. Maintenance Tips
While quartz is relatively low-maintenance, it’s important to take care of it to preserve its beauty:
- Avoid heat: Don’t place hot pans directly on the countertop to prevent heat damage.
- Clean up spills promptly: While quartz is non-porous, it’s still best to clean spills quickly to avoid staining.
- Use cutting boards: Although quartz is scratch-resistant, it’s not completely impervious. Always use cutting boards to protect the surface.
QuartzCountertops
#DIYCountertops
#HomeImprovement
#KitchenRenovation
#CountertopInstallation
#DIYProjects
#BeginnerDIY
#QuartzInstallation


